BacklinkHelper – User Manual
BacklinkHelper is a free browser extension that helps indie developers and individual web-masters build and promote backlinks more easily.
It can automatically detect & fill backlink forms, generate context-aware comments with AI, and provides link management, de-duplication & tracking.
Whether you are launching a new product, driving traffic to your site, or maintaining long-term backlinks, BacklinkHelper will dramatically boost your efficiency.
1 Key Features
1.1 Main Features
-
One-stop backlink submission & form filling
Combines page inspection and form-localisation to automatically detect and fill every field required for backlink submission, streamlining your entire link-building workflow. -
Smart site management
Organise and maintain SEO data for multiple websites in one place. Update information quickly and execute SEO strategies faster. -
Backlink tracking & administration
Keep a clear overview of every submitted link and its status so your SEO results stay measurable. -
Bulk operations
Import, delete or tag hundreds of links at once to reduce repetitive work. -
Auto prompt generation for comments
Automatically creates a Chat-GPT-ready prompt from the page’s TDK (Title, Description, Keywords) plus your own site’s TDK, so you can produce on-topic comments in seconds. -
AI-generated comments
Produce natural, personalised, context-aware comments automatically, based on the style, role, language and length you choose.
1.2 Security & Privacy
- Local-only storage – all data stay on your device.
- Zero external data transfer – the extension never sends user data to any third-party server.
2 Getting Started
2.1 Installation & Login
2.1.1 Install the extension
Chrome Web Store (works for both Chrome & Edge):
https://chromewebstore.google.com/detail/backlinkhelper-%E2%80%93-seo-auto/njplbneiegbjpmaiemjogaeilmbjnkij
2.1.2 Log in
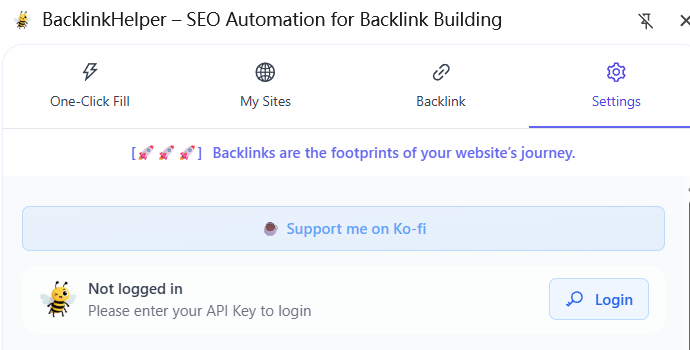
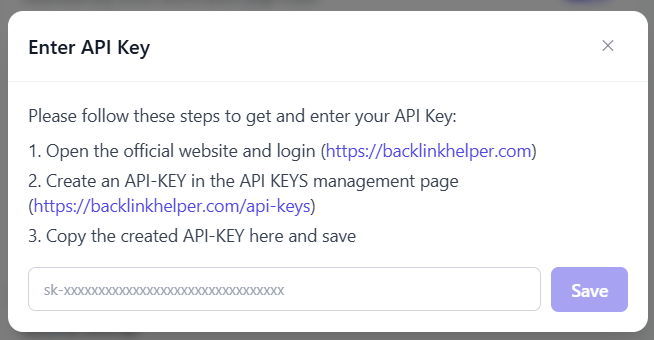
Login is done by entering an API Key:
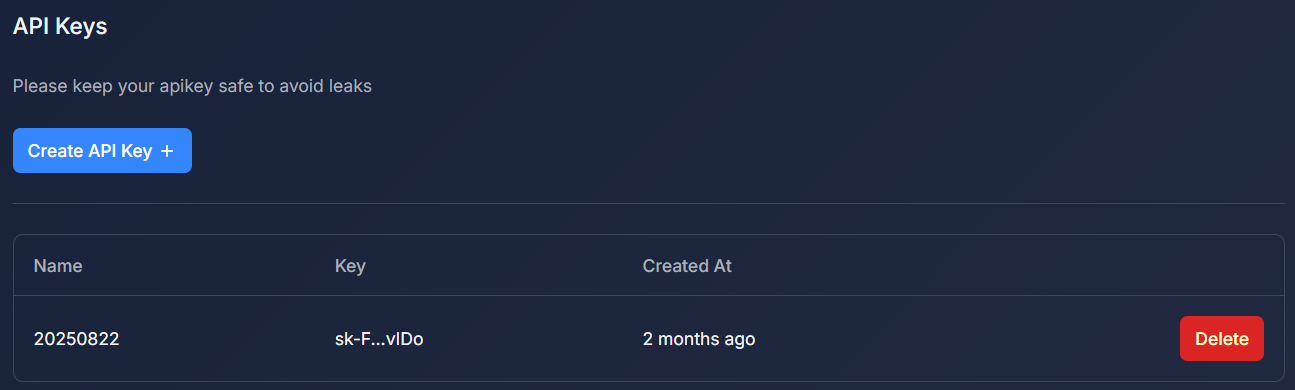
- Visit the BacklinkHelper website and sign in with Google or GitHub.
- Go to User-Centre → API-KEYS page and create a key.
- Click “Login” in the extension pop-up, paste the key and save.
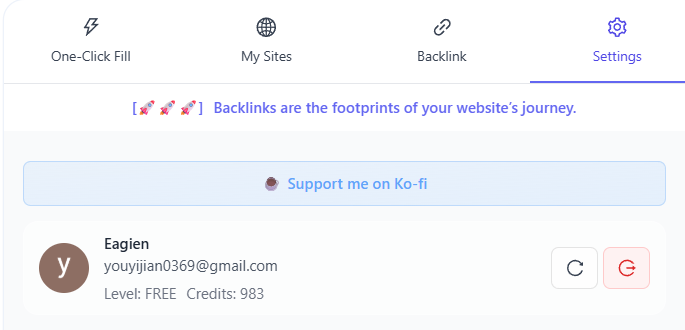
- After successful login the settings panel will show your user info.
2.2 Data Maintenance
2.2.1 “My Sites” management
-
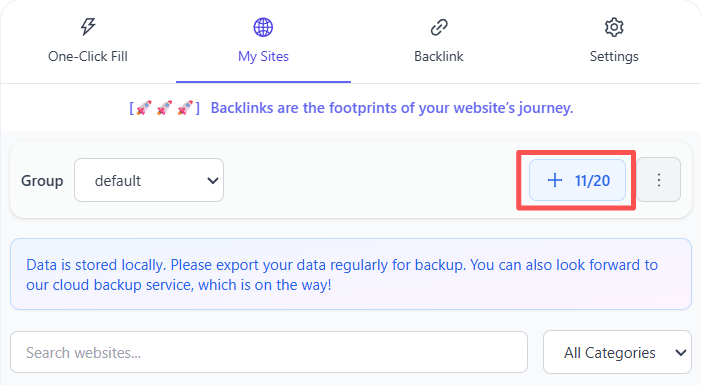
Open the “My Sites” page from the top navigation bar.

-
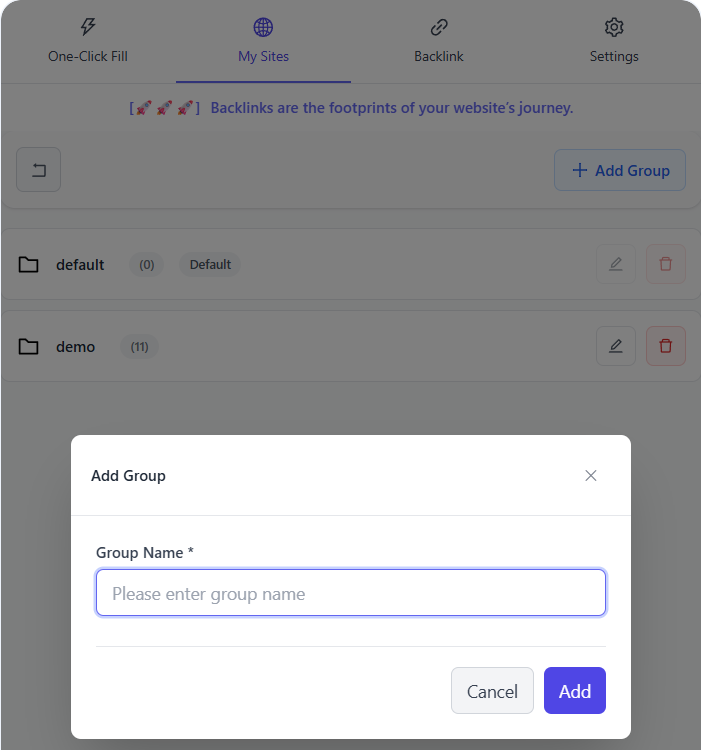
Create groups (e.g. “Game Sites”) via the “⋮” menu → “Manage Site Groups”.
-
Add a site: click “+”, fill in name, title, description, category, URL, e-mail, comment templates, keywords, etc.
- During auto-fill the extension maps:
– site-name → form “name”
– site-URL → form “url”
– e-mail → form “email”
– comment → form “content” (random pick if multiple)
- During auto-fill the extension maps:
-
Bulk import is also supported (download template first).
2.2.2 Backlink management
-
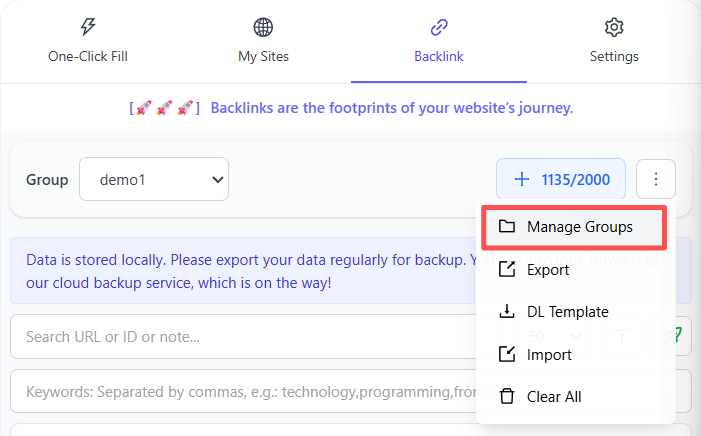
Enter “My Sites” → switch to “Backlinks” tab.

-
Create groups the same way (e.g. “BacklinkHelper”).
-
Add a backlink: click “+”, enter URL, note, keyword, DR, AS, etc.
- Keywords are filterable – handy for tagging source (e.g. “wordle2.io”) or type (“blog”, “directory”, “comment”).
-
Import supports auto-deduplication (exact protocol + domain + path + query).
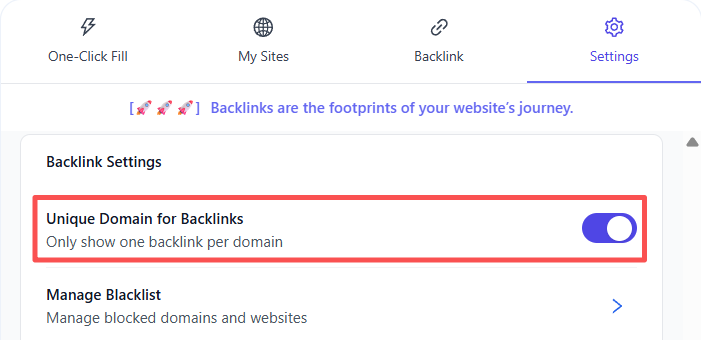
- Toggle “Unique domain only” to treat any same-domain URL as duplicate.
- Black-list domains are automatically skipped (manage in Settings).

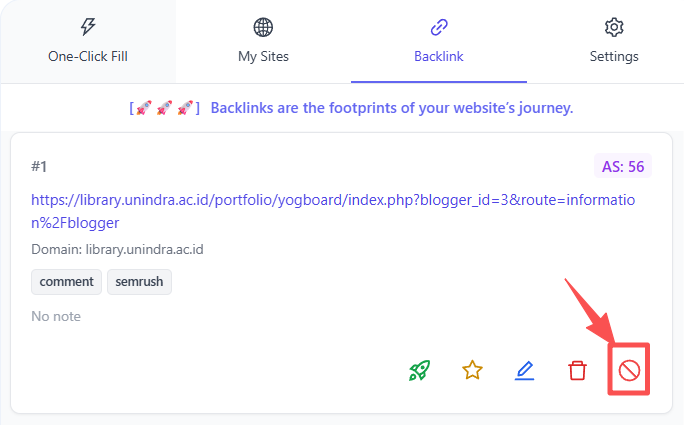
-
Block useless links: click the shield icon to add a domain to the blacklist.
-
Mark / unmark / clear: “Clear all” deletes every un-marked link in the group.
-
Filter: search by URL, ID, note or keyword.
- The filter result also affects the “One-click form fill” queue.
-
Open links: click the rocket icon on any row, or batch-open the whole filtered list.
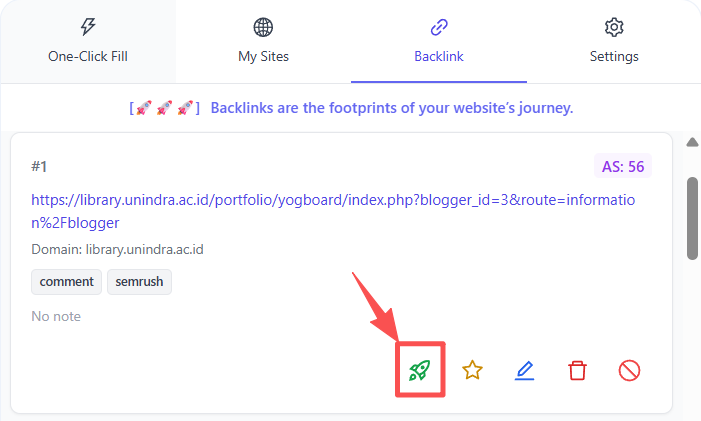

2.3 Submitting Backlinks
After clicking the rocket icon in backlink management, switch to the “One-click form fill” page.
2.3.1 Top toolbar
-
Detect forms – scans the current page for
<form>elements and adds an icon to every input.- Click the icon to open a manual-fill pop-up.

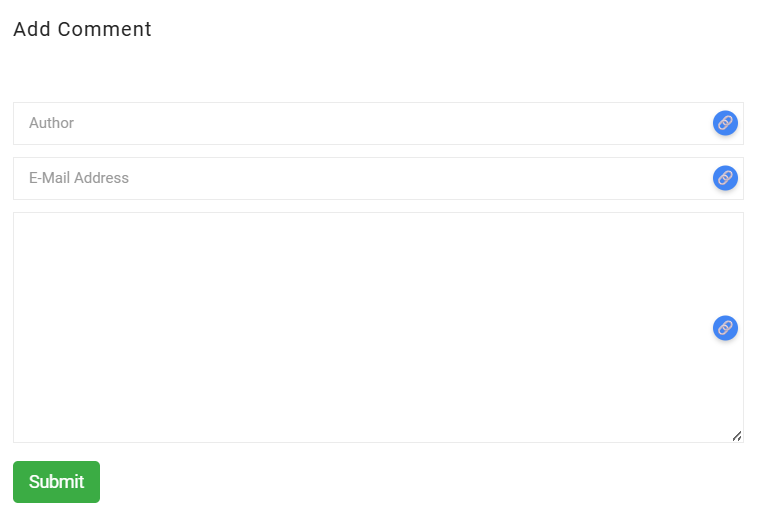
- Click the icon to open a manual-fill pop-up.
-
Locate – scrolls to the next detected form (cycles if many).
-
Start filling – same as the button inside “My Sites” panel.
-
Open backlink – same as “Start” in “Current backlink record”.

2.3.2 Current page
- Shows captured TDK + language.
- Indicates whether the current URL is already in the backlink group (green border / red border).
- Backlink check – green hint if your site’s URL is found on the page.
- Copy AI prompt – builds a prompt from both page TDK and your selected site’s TDK; one click to copy for ChatGPT, Yuanbao, Doubao, etc.
- Prompt settings – customise the prompt template.
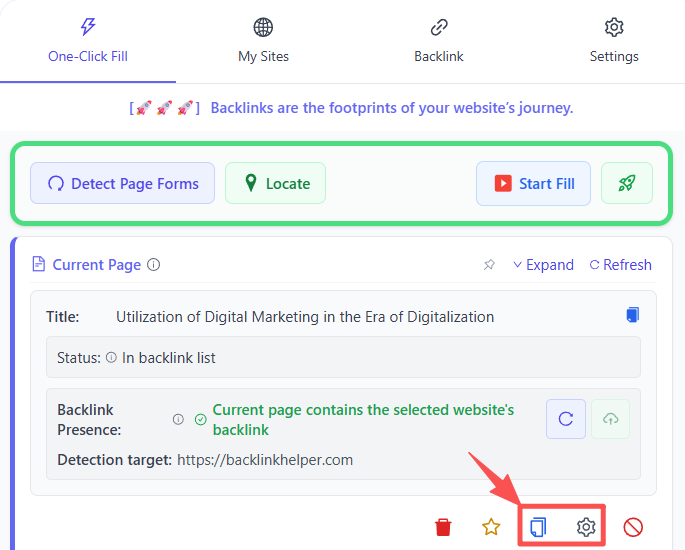
- Add to blacklist – block the current domain.
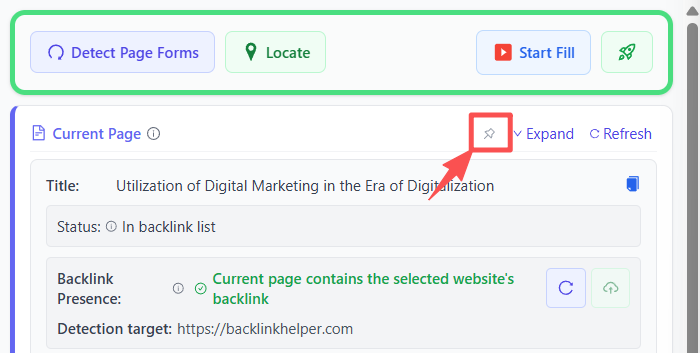
- Pin – pin the current-page module to the top.
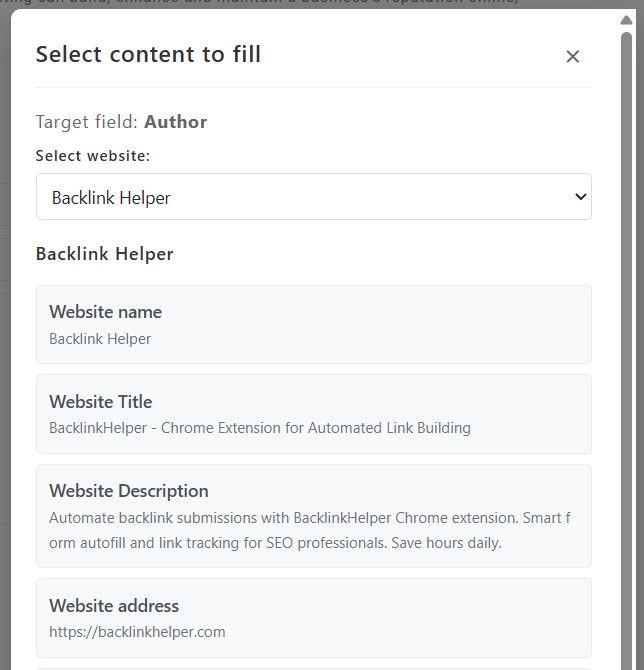
2.3.3 My Sites
- Choose which site (and group) you want to build links for.
- Next site – auto-switches to the next site inside the group.
- Displays site info; click any field to copy.
- Start filling – auto-fills name, URL, e-mail and comment into detected forms.
- If the “Auto-comment” box already contains text, that text is used instead of the saved comment template.
2.3.4 Auto-comment
Analyses the blog / forum content and generates a natural, contextual comment with AI.
- Site selector – single site (default) or multi-site (consumes more credits).
- Parameters: role, style, interaction type, length (short 50 ch / medium 200 ch / long 500 ch), language, embed link or not, anchor-text type (site-name / AI / custom).
- Output box – shows the returned comment; you can still tweak link format, rel, target, etc.
2.3.5 Current backlink record
- Shows the backlink you just opened; you can edit URL, note, keyword, DR, AS here.
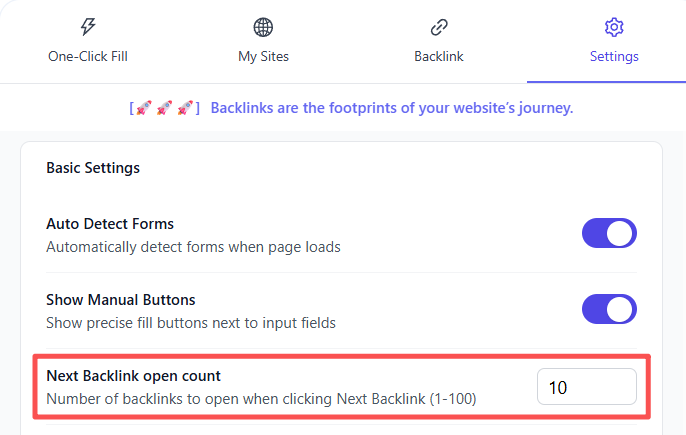
- Next backlink – opens the next URL in the filtered queue.
- Configure how many tabs open at once in Settings.
- Configure how many tabs open at once in Settings.
2.4 Context Menu
After opening a webpage, right-click to access the menu. You can quickly add the current page to "My Websites" or "Backlinks," and use the Check backlinks function.
3 Pricing
Copying the AI prompt manually is free and covers most needs.
To unlock auto-generated comments you can buy credits.
3.1 Credit packages (USD)
- $5 → 500 pts
- $10 → 1 100 pts
- $30 → 3 600 pts
Consumption per generation:
- Single-site: 1 pt / comment
- Multi-site: 1 pt (≤5 sites) or 2 pts (>5 sites)
See BacklinkHelper manual for WeChat QR.
3.2 Free trial
Every new account receives 10 credits after first login.
4 Support & Feedback
BacklinkHelper is still evolving – your feedback matters!
Need help or have ideas?
Please reach us at [email protected] – we reply within 24 hours.
Recommendations
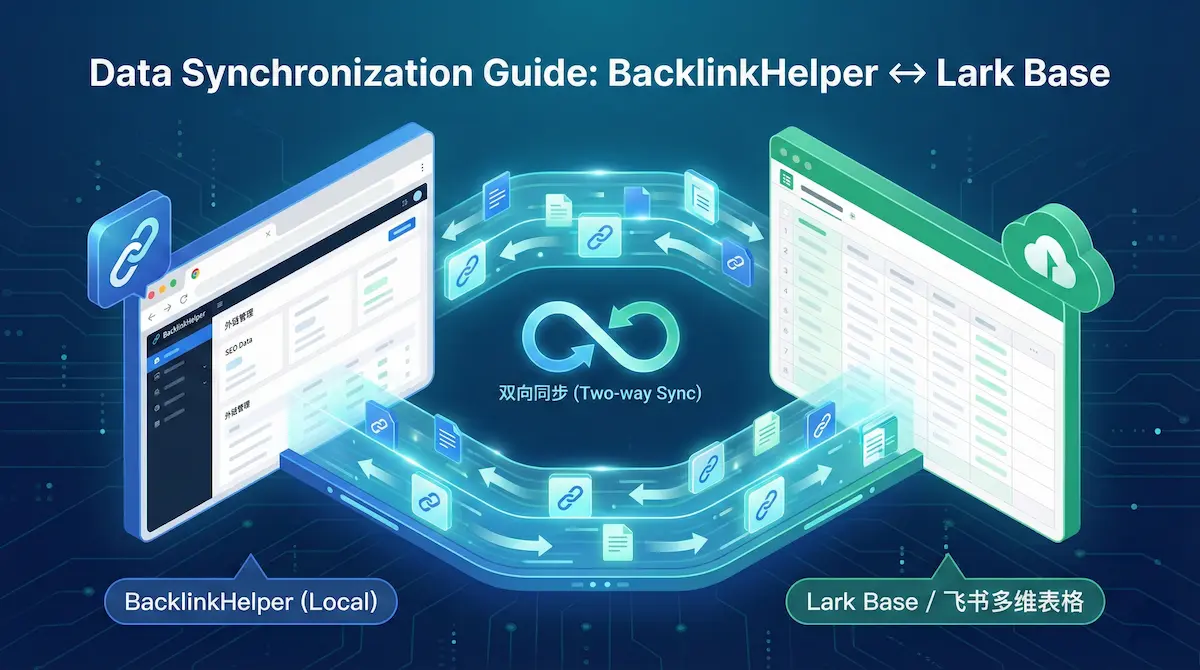
Lark Base (Feishu) Data Sync Guide | BacklinkHelper Manual
Learn how to set up two-way synchronization between BacklinkHelper and Lark Base (Feishu). A step-by-step guide on API authorization, group binding, and auto-sync features.

Automate Blog Commenting: The Safe 'Cyborg' Strategy
Let's be real: manual commenting sucks. Here is how to use AI and smart tools to automate the boring parts without getting your site penalized.

How to Track Guest Post Links Free: A Real-World Guide
Stop paying for expensive SEO tools just to track links. Learn the practical, free ways to monitor your guest posts using Google Sheets, GSC, and smart free tools.
Comments
No comments yet